


Wordpress
Migrate a WordPress website to another server

Jul
Migrating a WordPress website to another server is not a complicated task. In fact, there are 4 things we need to do—but we must do them right, or everything will be a mess.
1 – Download the site from the staging server
2 – Export the database (DB) from the staging server
3 – Import the DB to the client’s server
4 – Upload the new site to the client’s server via FTP
-
1) DOWNLOAD THE SITE FROM THE STAGING SERVER
Let’s assume we have a finished website hosted on a staging server called stagingserver.com and we want to move it to the client’s server, which we’ll call clientserver.com. The first thing to do is download the website from the staging server to your computer. This task is done through an FTP client such as Filezilla.
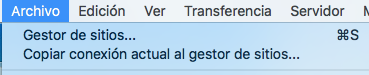
It’s an easy task. In the top menu of Filezilla, go to File/Site Manager:
This window will open where you must enter the name of your server, the FTP username, and password:
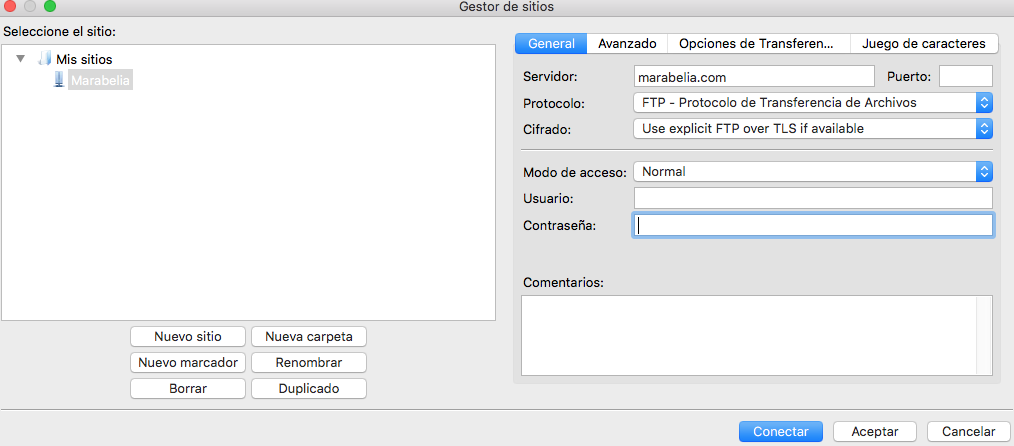
Click the Connect button.
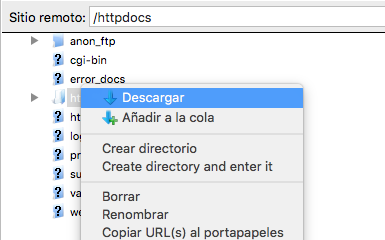
In the new screen, locate the root directory (often the site is inside the httpdocs folder) and right-click to select Download. The website will be downloaded to your default downloads folder (downloads, desktop…). Be patient—it might take a while.
-
2) EXPORT THE DATABASE FROM THE STAGING SERVER
Access the control panel of your staging website using the credentials provided by your hosting provider. Once inside the user panel, locate “databases“. It’s very important to reach this section; if you can’t find it, ask your hosting provider where and how to access it.
Inside databases, find “phpMyAdmin“. This is what phpMyAdmin looks like:

In phpMyAdmin, go to the Export tab:
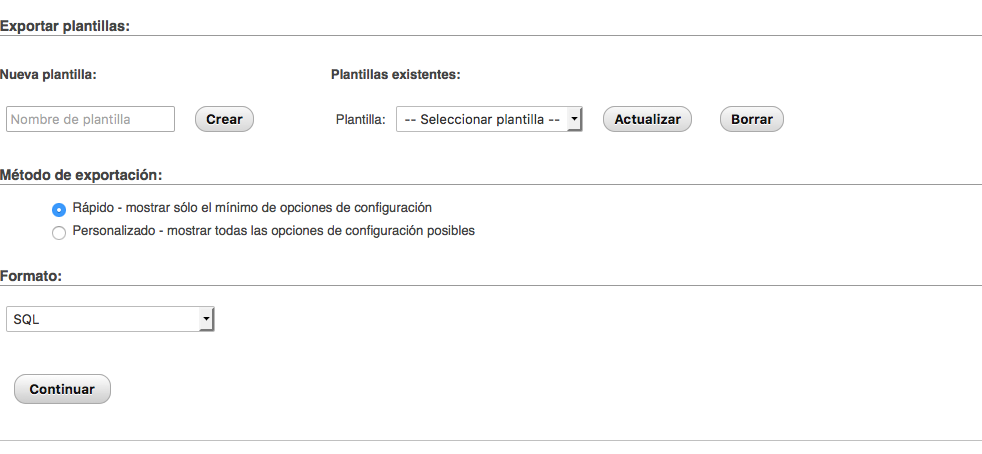
Then click the “Go” button. Don’t worry!
This action will generate a copy of the DB in your downloads folder.
Once the copy is created, you can exit phpMyAdmin and the stagingserver.com control panel—we won’t need them anymore.
-
3) IMPORT THE DATABASE INTO THE CLIENT’S SERVER
Now access the control panel of the client’s server and go to Databases.
If the client has no databases yet or allows you to create a new one, that’s great!
Create a new database using the same data as your staging site: same DB name, username, and password.
If this is not possible (e.g., database names are auto-generated or there’s only one available), you will need to go to the downloaded staging website, open the file wp-config.php, and modify the following lines:
/** The name of your WordPress database */
define('DB_NAME', 'your_database_name');

/** Your MySQL database username */
define('DB_USER', 'your_database_user');

/** Your MySQL database password */
define('DB_PASSWORD', 'your_password');

/** MySQL hostname (likely you won’t need to change this) */
define('DB_HOST', 'localhost');
If you were able to keep the same database details on clientserver.com as on stagingserver.com, this step is not necessary.
Now that we’ve created our new database and modified wp-config.php (if needed), access the phpMyAdmin of the new database on clientserver.com and go to the Import tab:
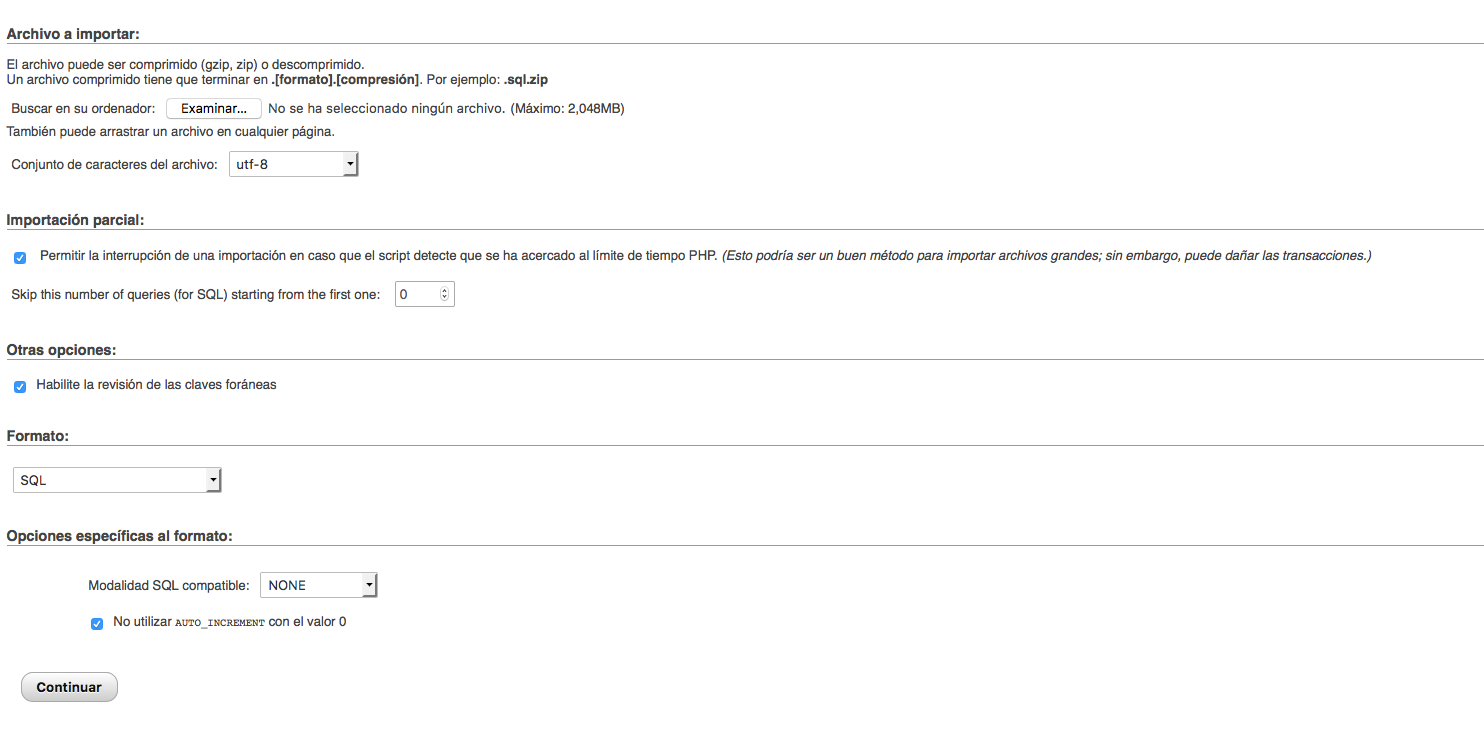
If everything went well, we’ve almost done all the work!
4) UPLOAD THE WEBSITE TO THE CLIENT’S SERVER
We access our FTP again (for example, FileZilla) and enter the FTP credentials for servidorcliente.com (as we explained in step 1). We connect and drag the website from servidorpruebas.es, which we will already have downloaded to our computer, into the main directory of the new server servidorcliente.com (the website is often located in the httpdocs folder). Now we just have to wait for the website to finish uploading to the new server and everything will work. 🙂